Sarah's sister is having a bouncing baby girl, and is being thrown a baby shower. So Sarah has commissioned me to bake her some goodies.
She requested a cake, some decorated cookies, and cake pops!
Though I have quite the experience in cake balls I am new to cake pops.
Cake Balls = chocolate covered orbs of mashed up cake and frosting, or ganache in my case.
Cake Pop = chocolate dipped cake sphere.
Now some of you out there might think a cake pop is just a cake ball on a stick. I'm sure in some circles you might just be right, but not here and not in this ladies kitchen!
Cake pops are tiny little ADORABLE spheres of cake that are baked in this easy bake oven looking contraption.

If I can be honest for a moment, I bake cakes for a living y'all.... we're talking 75 POUNDS of cake batter into around 50 cakes. That is one flavor. For one round. Of one type of cake. That will last one week at the bakery that I work at.
This cute tiny little baby thing makes 12 spheres..... 12.... what kind of number is that?! 250? Oh yeah no problem! 12?.... I don't even know what to do with that.... But here's the catch! These baby cakes bake in, wait for it.....4 MINUTES!
WHAT?!?!?
I know right?
Crazy magic going on in the Weber house.
I digress.

In this baby world of tiny numbers and infinitesimal amounts these cake pops are born therefore blowing my mind.

So in the same amount of time that you would be baking your typical 8 inch round cake, you can bake like 50 or 60 cake pops!

This thing is awesome! Exclamation points!
It heats up in like 2.5 minutes takes 4 minutes to bake and seriously turns out perfect product every time.
Onward we go!
Since I am new to this blogging thing I completely forgot to take pictures or document the actual batter making process but once you have mixed your favorite cake batter together you pour it into either a pastry bag or a gallon Ziploc bag, snip the end and pipe about a tablespoon of batter into each of the wells. Close and latch the cute lil barbie baker.
Set a timer (which I continually forgot to do, I never set timers)
Once the timer has gone off, instead of risking burning your fingers or malforming the spheres by picking them out one at a time grab two oven mits, pick up the whole thing and dump the little buggers out onto a sheet tray and allow to cool.
Now this will work best if you wrap these guys up really well in saran wrap (after they have cooled completely) and freeze over night.
You want them frozen solid!
Once you are ready to start dipping i would recommend you get everything set up before you even take the baby cakes out of the freezer. Once the cake get soft and defrosts you can run into some problems of it falling off the stick into the dipping chocolate.
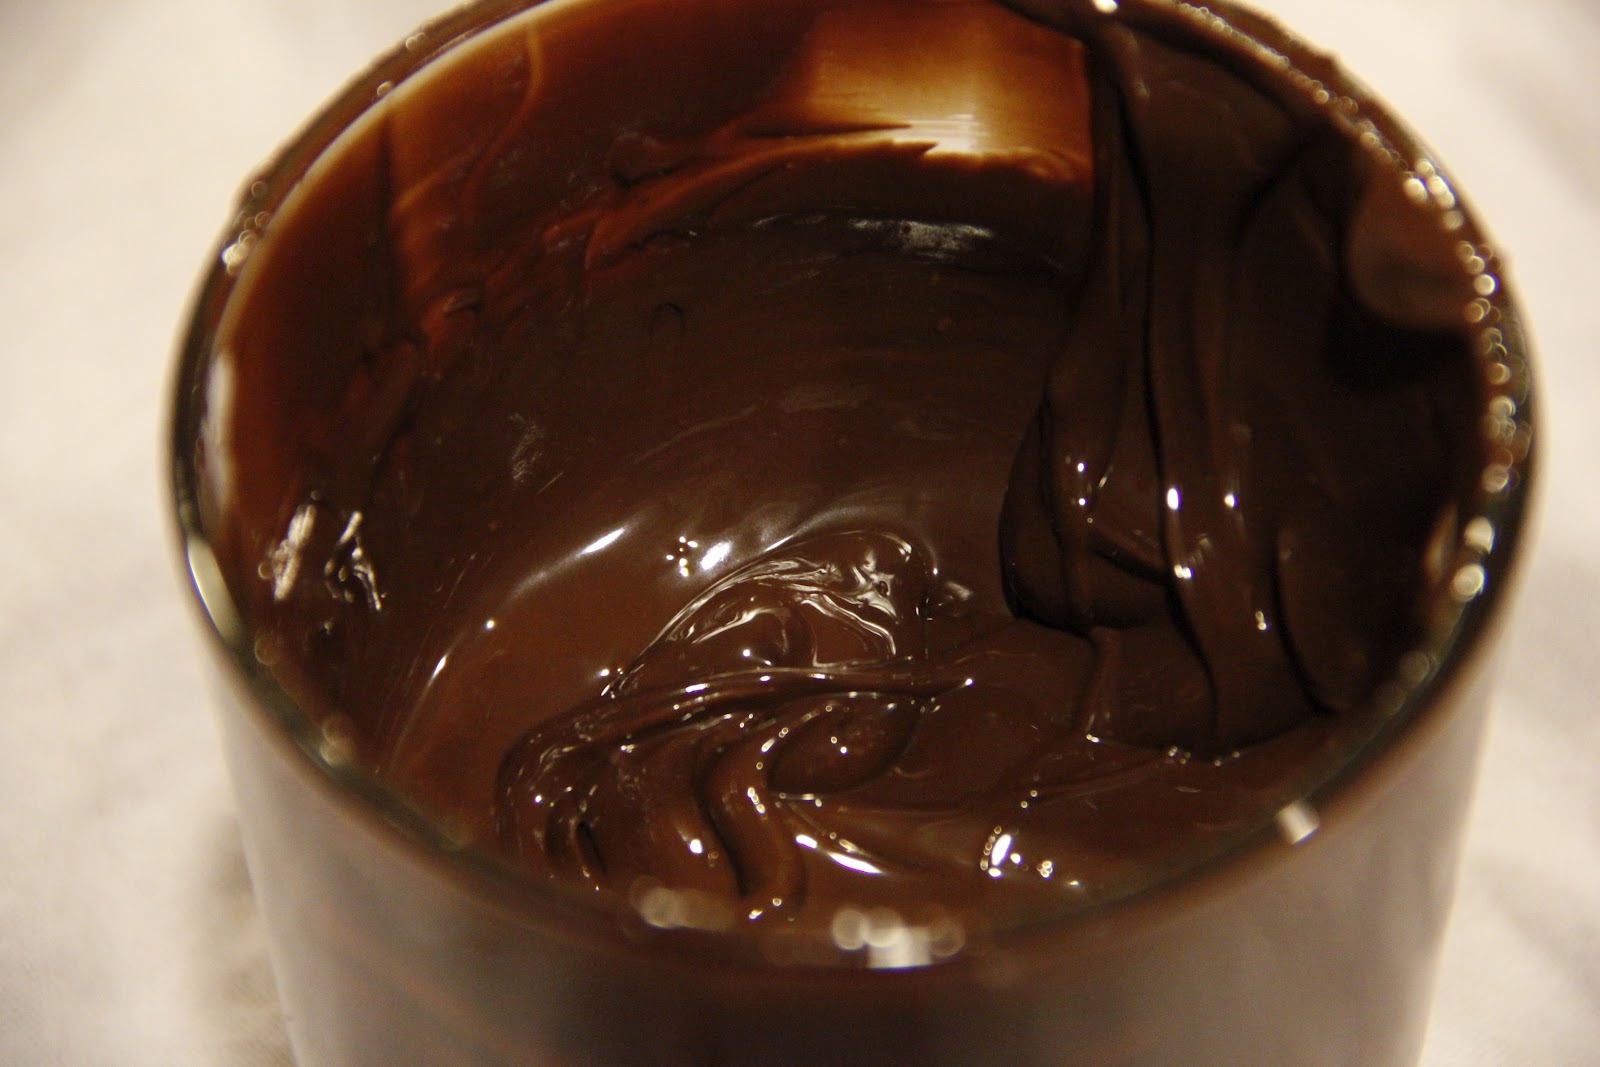
Next topic of discussion: dipping chocolate. Normally I'm a huge advocate of using good quality, pure chocolate. But in this case the consistency can be a little thick, so this is where the candy melts come in.

What I did was start with a good quality dark chocolate.I melted that together with a little bit of the candy melts white chocolate to help out with the consistency. Works like a charm.

Once your chocolate is nice and melty and you have everything set up, go and retrieve about 10 cake spheres from the freezer. Doing this in stages will prevent any cake-tastrophies.
You dip the top of the stick into chocolate.

Then insert into cold cake sphere.

Place the now cake pop into a holding mechanism. My mechanism of choice is a green floral foam block.

Alright now you have about 10 pre-dunked cake pops on your foam block. I would say about 20 pops fit on one block for me, so once you have those 20, put the whole foam block back into the freezer until you have stuck all your remaining cake pops.

Once the chocolate holding the ball onto the stick has hardened and is set, you can now dip the pop into your chocolate. You want a full coating, making sure the dipping chocolate touches the stick ensuring you have a good seal.


The next step, I think is one people know of but don't do enough of. So I'll say it slowly.
SHAKE
AS
MUCH
CHOCOLATE
OFF
OF
THE
CAKE
POP
AS
YOU
CAN.

Good, now that we have that settled. Jiggle said cake pop to get rid on any remaining chocolate ridges. While the chocolate is still wet, you can add things like sprinkles, dragees (pronounced drah-zjays... see I thought this would help but I might have just made it more confusing) jimmies or sanding sugar.

Set back in holding mechanism to properly dry and set.
If you are doing stripes or piping a design now is the time to do so.

Voila!

Cake Pops!
Now you can go and create and enjoy!
I'm telling you, baked goods are one of the fastest ways to make friends!
Side note: This entry took me three days to make.... that's a long time. I need to figure out a faster way to upload the photos or something...I was dying. I ended up cutting quite a bit of photos just so I could get this post up! Oh well, live and learn I suppose.
This comment has been removed by the author.
ReplyDeleteThese look amazing! And that easy bake cake pop contraption is awesome.
ReplyDeleteGenius! Never thought about "gluing" the stick into the pop! I think I might need one of these little contraptions!
ReplyDelete